

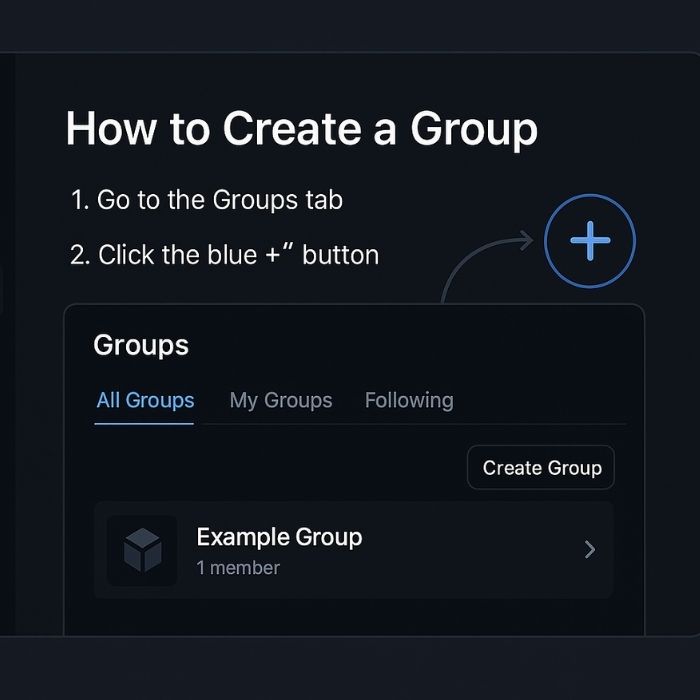
Go to the Groups tab
Navigate to the Community → Groups menu.
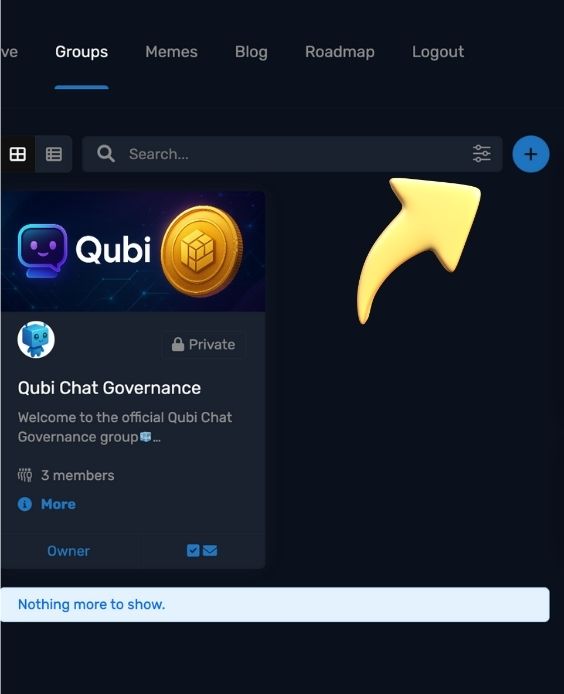
Click the blue “+” button (see screenshot 1)
This opens the new group setup.
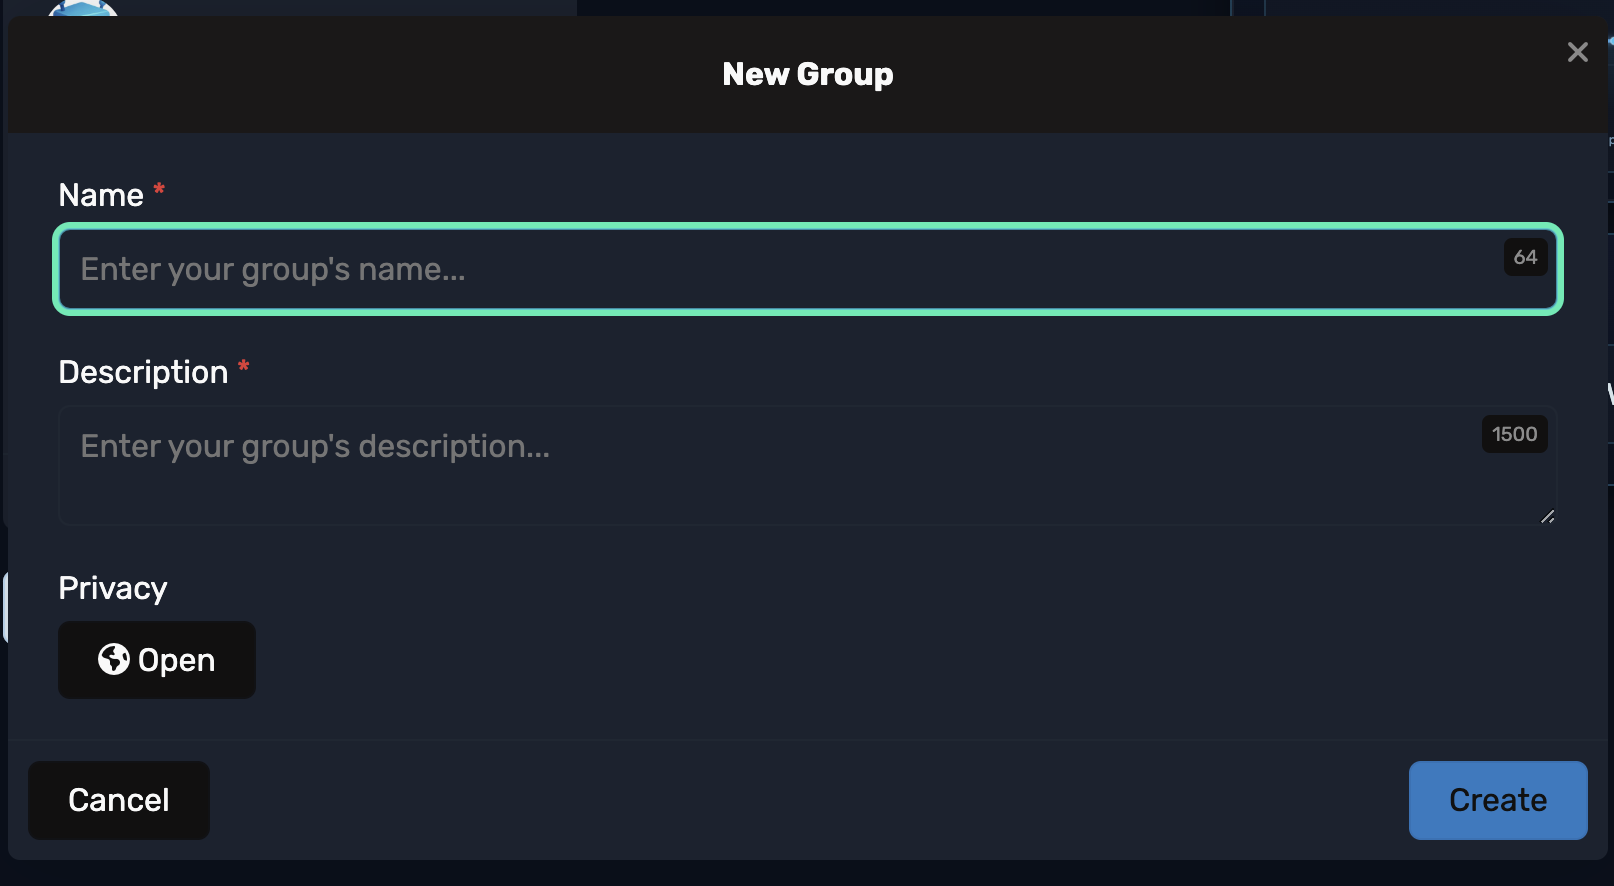
Fill in your details
Group Name
Description
Privacy (Public, Private, or Hidden)
Membership (Open, Request to Join, or Invite Only)
Group Icon (square image) & Cover Banner (after create)
Click “Create” (see screenshot 2)
Your group is live.
Post and pin a Welcome message
Tell people what the group is for, basic rules, and how to get started.
(Optional) Add a moderator
Go to Members → Manage Roles to assign help.
Tip: Keep the name short and clear, use a clean banner, and turn on group notifications so you don’t miss new posts.